5 Easy Landscaping Projects for Anyone
March 21, 2024
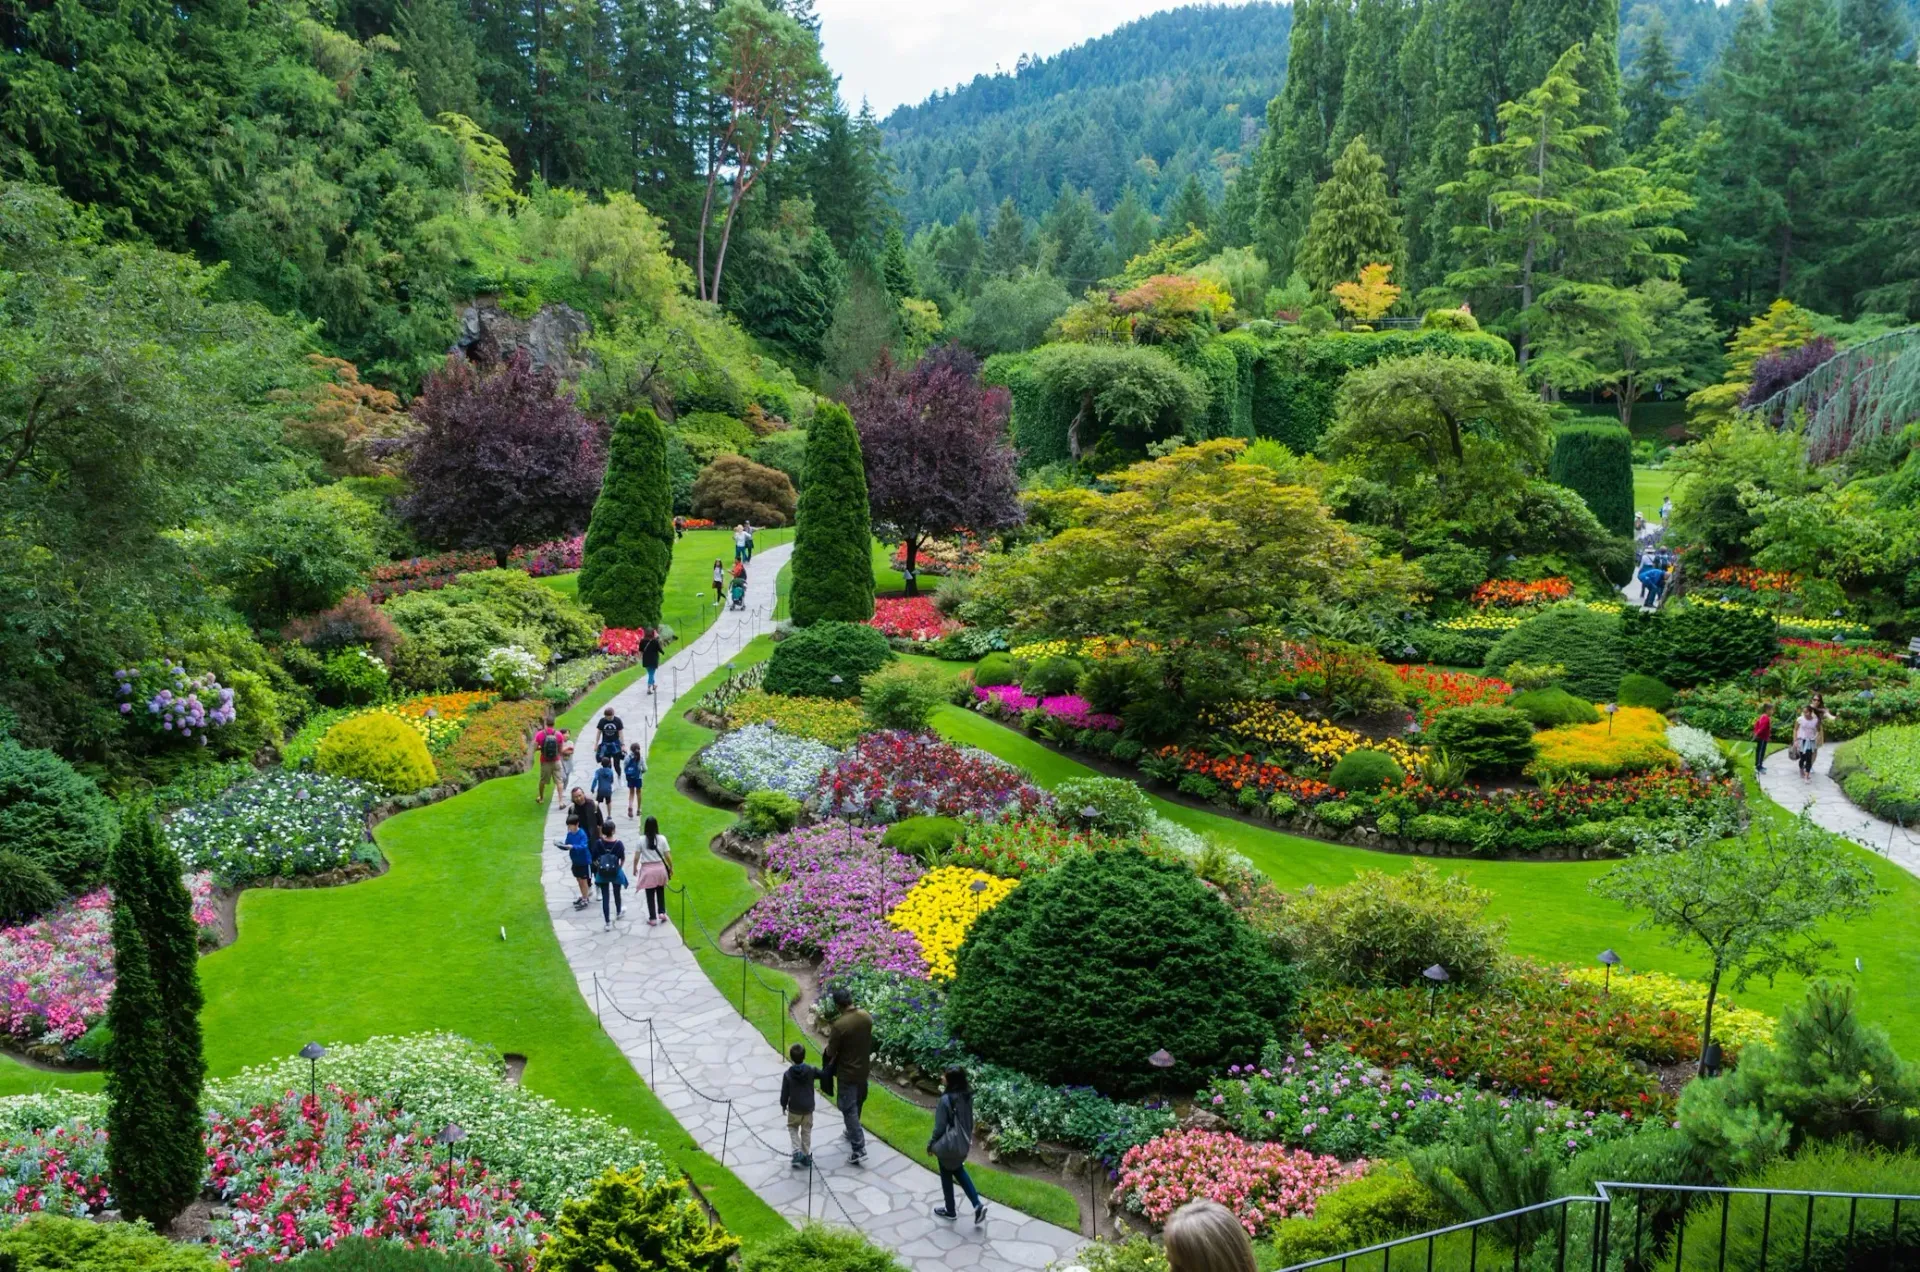
Unleash Your Inner Green Thumb: 5 Easy Landscaping Projects for Anyone
Welcome to our latest guide, "Unleash Your Inner Green Thumb: 5 Easy Landscaping Projects for Anyone." Whether you've never touched a trowel or you're a seasoned gardener looking for new challenges, this guide is for you. Landscaping can transform not only your outdoor spaces but also your well-being and the environment. It's about creating a personal oasis that grows with you, offering a retreat from the world, a place for wildlife, and a boost to your home's curb appeal and value.
In this comprehensive guide, we'll walk you through five simple yet impactful landscaping projects. These projects are designed to be accessible, requiring minimal special equipment or advanced skills, and can be adapted to fit any space, big or small. Along the way, we'll share expert tips, the latest research, and practical advice to ensure your success. So, roll up your sleeves and get ready to dig into landscaping with confidence and creativity. Let's grow something beautiful together.
The Value of DIY Landscaping
Before we dive into our first project, let's take a moment to appreciate the true value of do-it-yourself landscaping. Engaging in landscaping activities is not just about beautifying your surroundings; it's a powerful way to enhance your physical health, mental well-being, and even the ecological balance of your neighborhood.
Physical and Mental Health Benefits
Gardening and landscaping are physically engaging activities that can improve your stamina, strength, and flexibility. The act of planting, weeding, and other gardening tasks is a natural form of exercise that contributes to a healthy lifestyle. Moreover, numerous studies have highlighted the mental health benefits of spending time in nature, reducing stress, anxiety, and depression. A study published in the "Journal of Health Psychology" found that gardening can lower cortisol levels, a primary stress hormone, promoting feelings of calm and well-being.
Environmental Impact
Your landscaping efforts can significantly contribute to local wildlife and the broader ecosystem. By choosing native plants, creating habitats for pollinators, and using sustainable practices, you're playing a part in supporting biodiversity and reducing the ecological footprint of your home.
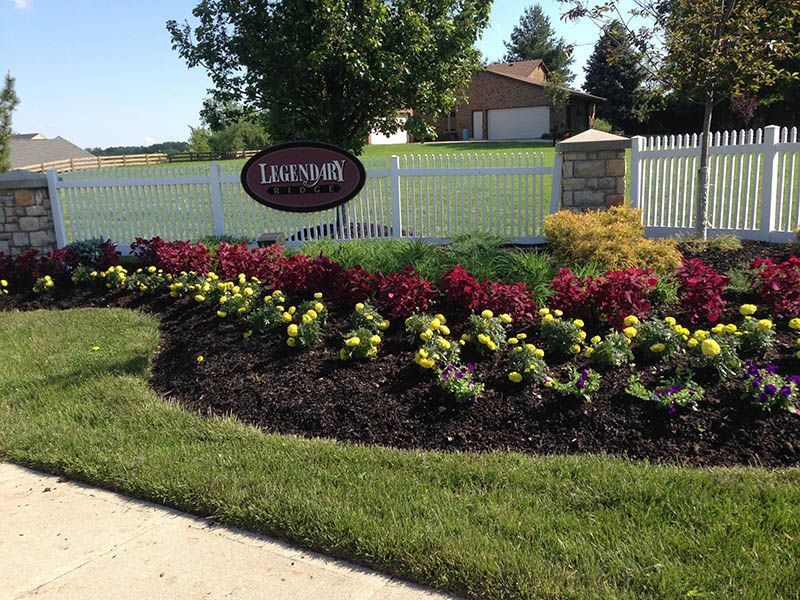
Economic Value
Beyond the personal and environmental benefits, landscaping can enhance your property's curb appeal and increase its market value. According to the "Journal of Environmental Horticulture," well-designed landscaping can add up to 15% to a home's value, making it a wise investment in your property's future.
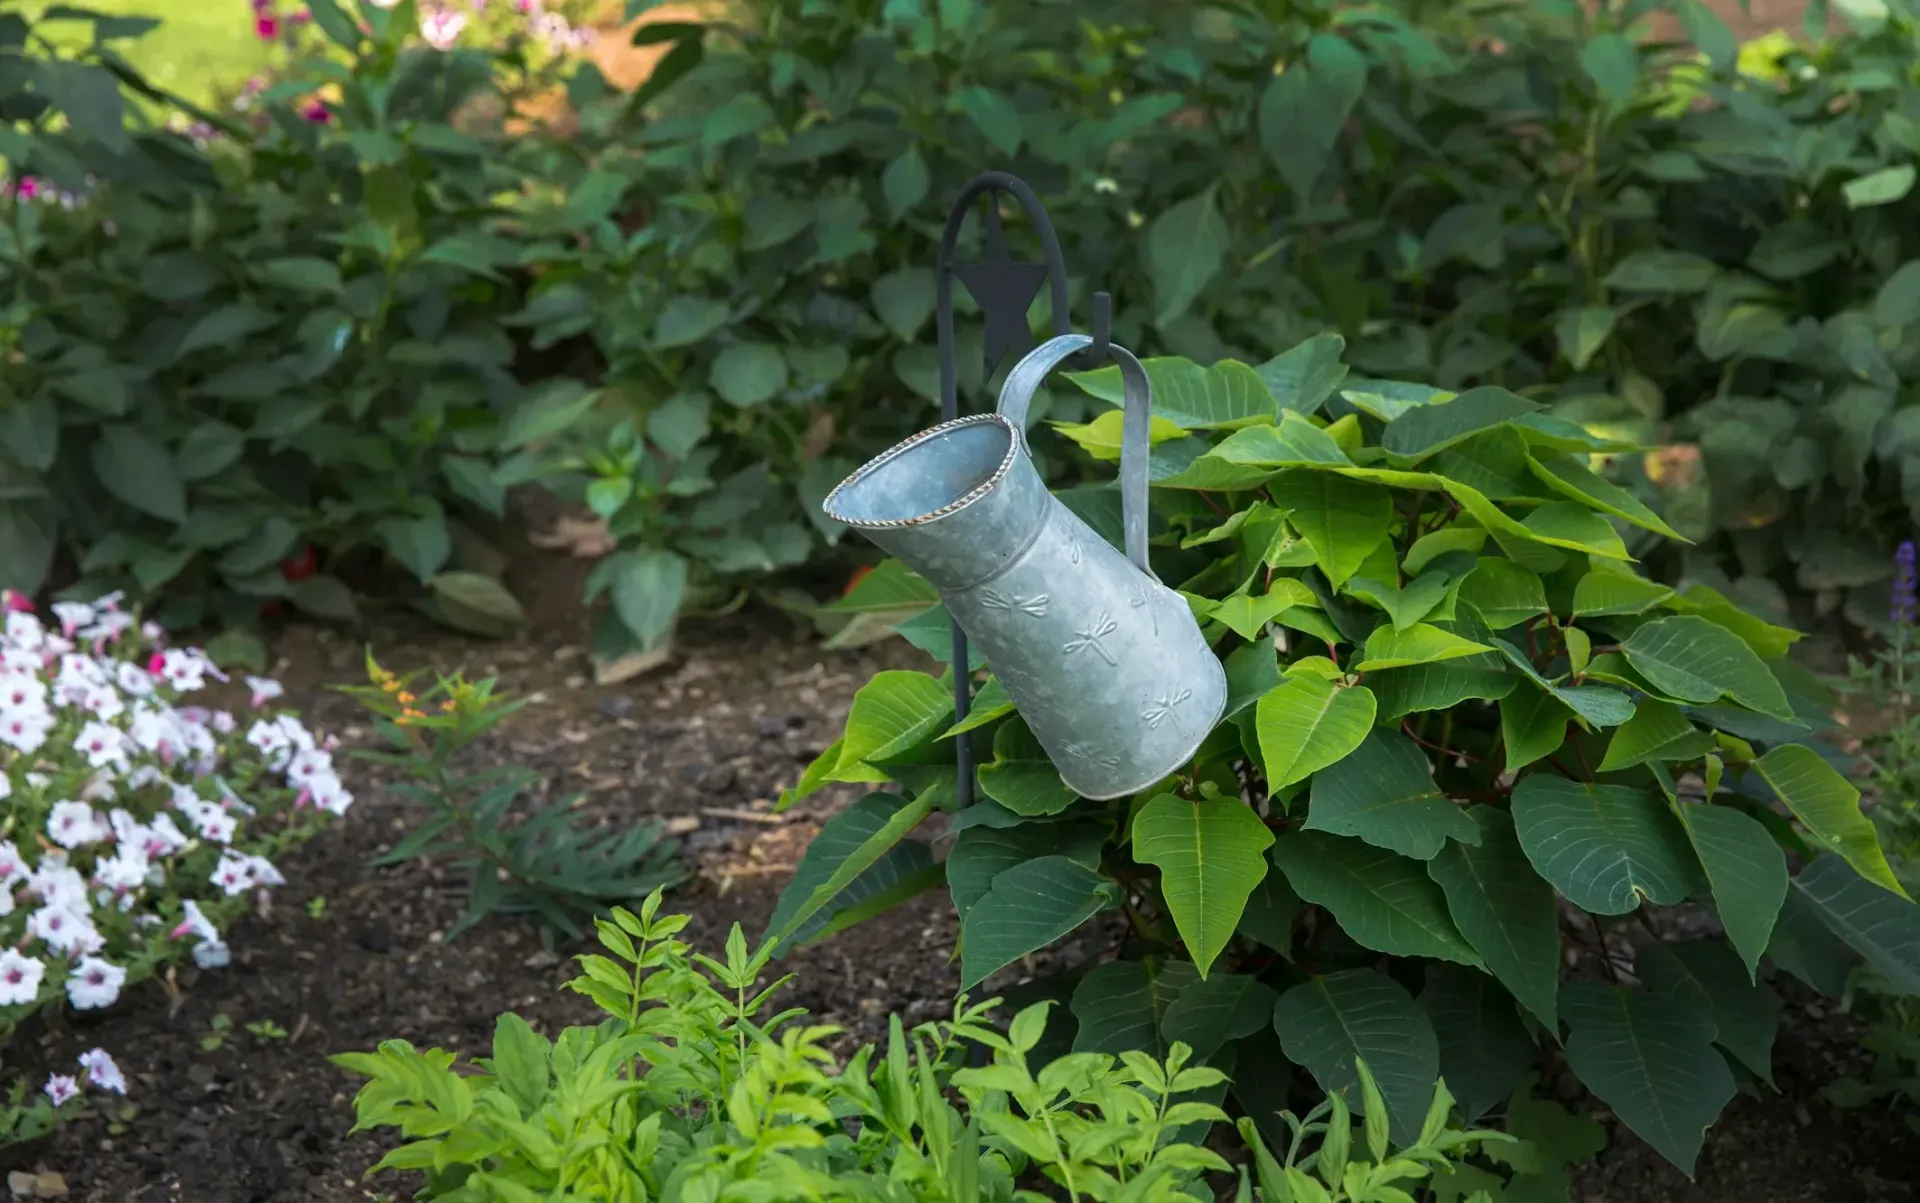
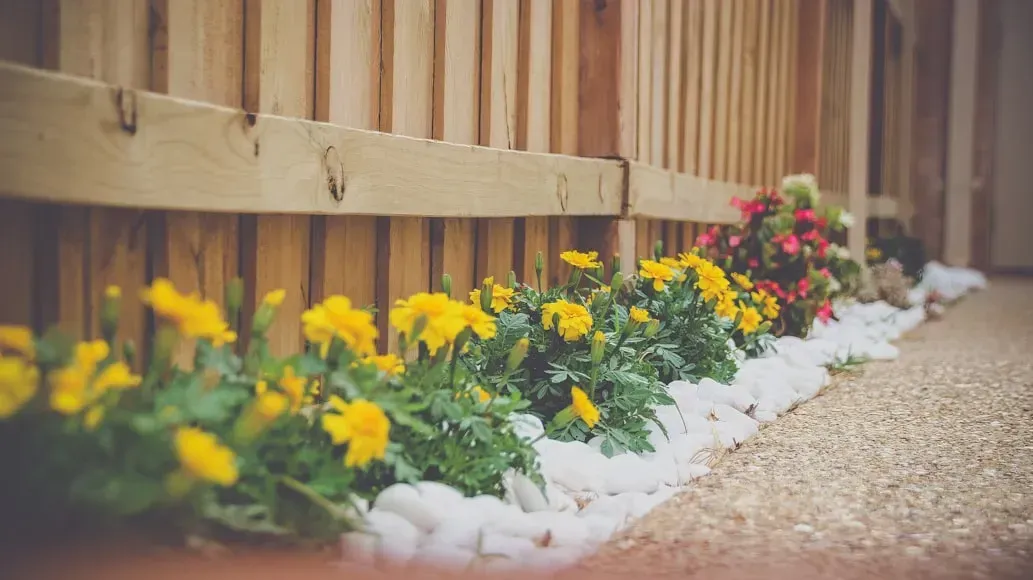
Project 1: Creating a Pollinator-Friendly Garden
Pollinators play a crucial role in the health of our ecosystems and the production of many fruits, vegetables, and nuts we rely on. Creating a pollinator-friendly garden is a simple yet impactful way to support local wildlife and add beauty to your landscape. Here’s how to get started:
1. Choose the Right Plants: Select a variety of native plants that flower at different times of the year to provide a consistent food source for pollinators. Look for plants with a range of colors, shapes, and heights to attract a diversity of bees, butterflies, and other beneficial insects. Some pollinator favorites include lavender, bee balm, zinnias, sunflowers, and milkweed.
2. Provide Water Sources:
Just like us, pollinators need water to survive. Incorporate shallow water sources such as a birdbath with stones for them to land on, or even a simple dish with fresh water can make a big difference.
3. Avoid Pesticides:
Pesticides can harm beneficial insects. Opt for natural pest control methods and embrace a more organic approach to gardening. If you must use pesticides, choose products that are least harmful to bees and apply them in the evening when pollinators are less active.
4. Offer Shelter: Pollinators need places to nest and overwinter. Leave some areas of your garden a little wild with natural debris like leaves and dead wood, or install bee hotels to provide nesting sites for solitary bees.
5. Practice Sustainable Gardening:
Incorporate sustainable practices such as composting, rainwater harvesting, and using mulch to conserve water and support the health of your soil and plants.
Supporting Research:
According to a study in the "Journal of Pollination Ecology," gardens that incorporate native plants see a significant increase in pollinator visits compared to those without. This not only benefits the pollinators but also enhances the productivity and health of your garden.
Creating a pollinator-friendly garden is a rewarding project that contributes to biodiversity and ecosystem health. It’s a simple step that any gardener can take to make a meaningful impact on the environment while enjoying the beauty and bounty of nature.
Project 2: Installing a Simple Drip Irrigation System
Efficient watering is key to a healthy garden, especially in areas prone to dry spells. A drip irrigation system delivers water directly to the base of each plant, minimizing evaporation and ensuring deep water penetration. This project is easier than you might think and can be a game-changer for your garden's health and water usage. Here’s how to set it up:
1. Plan Your System:
Map out your garden and decide where each drip line will go. Consider the needs of different plants—some may require more water than others. Purchase enough drip line tubing to cover your garden beds, along with connectors, emitters, and a timer.
2. Install the Mainline:
Connect your mainline tubing to a water source. This could be an outdoor faucet or a rain barrel system. Make sure you have a backflow preventer in place to keep your water supply safe.
3. Lay Out the Drip Lines:
Run the drip lines along your garden beds, securing them with ground stakes. Cut the tubing where necessary and use connectors to direct water to all parts of your garden. Install drip emitters at intervals suitable for the plants in each area, ensuring they receive adequate water.
4. Test and Adjust:
Turn on the water and observe how well your system is working. Check for leaks and make sure water is reaching the root zones of all your plants. Adjust the placement of emitters or add more if necessary.
5. Set the Timer:
Automate your watering schedule with a timer. Early morning is typically the best time to water, reducing evaporation and providing moisture for plants throughout the day.
Supporting Research:
Studies, such as those published in the "Journal of Efficient Water Use," have shown that drip irrigation systems can significantly reduce water usage by up to 50% compared to traditional watering methods. This not only saves water but also promotes deeper root growth and healthier plants.
Installing a drip irrigation system is a straightforward project that can have a big impact on your garden’s sustainability and success. It’s an investment in your garden’s future, ensuring your plants get the water they need with minimal waste.
Project 3: Building Raised Garden Beds
Raised garden beds are a fantastic way to improve your gardening experience. They offer better soil conditions, reduced weed problems, and easier access for planting, maintenance, and harvesting. Plus, they can make a stylish addition to your garden. Here's how to build your own:
1. Choose Your Location:
Pick a spot in your garden that receives plenty of sunlight—at least six hours a day is ideal. Ensure the area is level to avoid water run-off.
2. Design Your Beds:
Decide on the size and shape of your raised beds. A common choice is 4 feet by 8 feet, which allows easy access to the center from both sides. The height can vary, but 12 to 18 inches is generally sufficient.
3. Select Materials: Wood is a popular choice for raised beds because of its natural appearance and durability. Cedar and redwood are naturally rot-resistant, but other types of wood can be used if treated to be safe for edibles. Alternatively, materials like bricks, concrete blocks, or galvanized steel can also be used.
4. Assemble the Frame:
Cut your materials to size and assemble the frame. If using wood, pre-drilling holes can help prevent splitting. Secure the corners with screws or corner brackets for stability.
5. Prepare the Site:
Lay down a layer of cardboard or landscape fabric at the bottom of the bed to suppress weeds. Fill the bed with a mix of topsoil, compost, and other organic matter to create a rich, fertile growing medium.
6. Plant and Mulch: Once your bed is prepared, you can plant it with your chosen plants. After planting, add a layer of mulch on top to retain moisture and further reduce weed growth.
Supporting Research:
Research has shown that raised garden beds can yield up to four times more produce than the same amount of space planted in rows. This is due to the improved drainage, aeration, and soil quality that raised beds can provide.
Building raised garden beds is a straightforward project that can significantly enhance your gardening efficiency and yield. With better control over soil conditions and an ergonomic design, raised beds make gardening more accessible and enjoyable, whether you're growing vegetables, herbs, flowers, or a mix of plants.
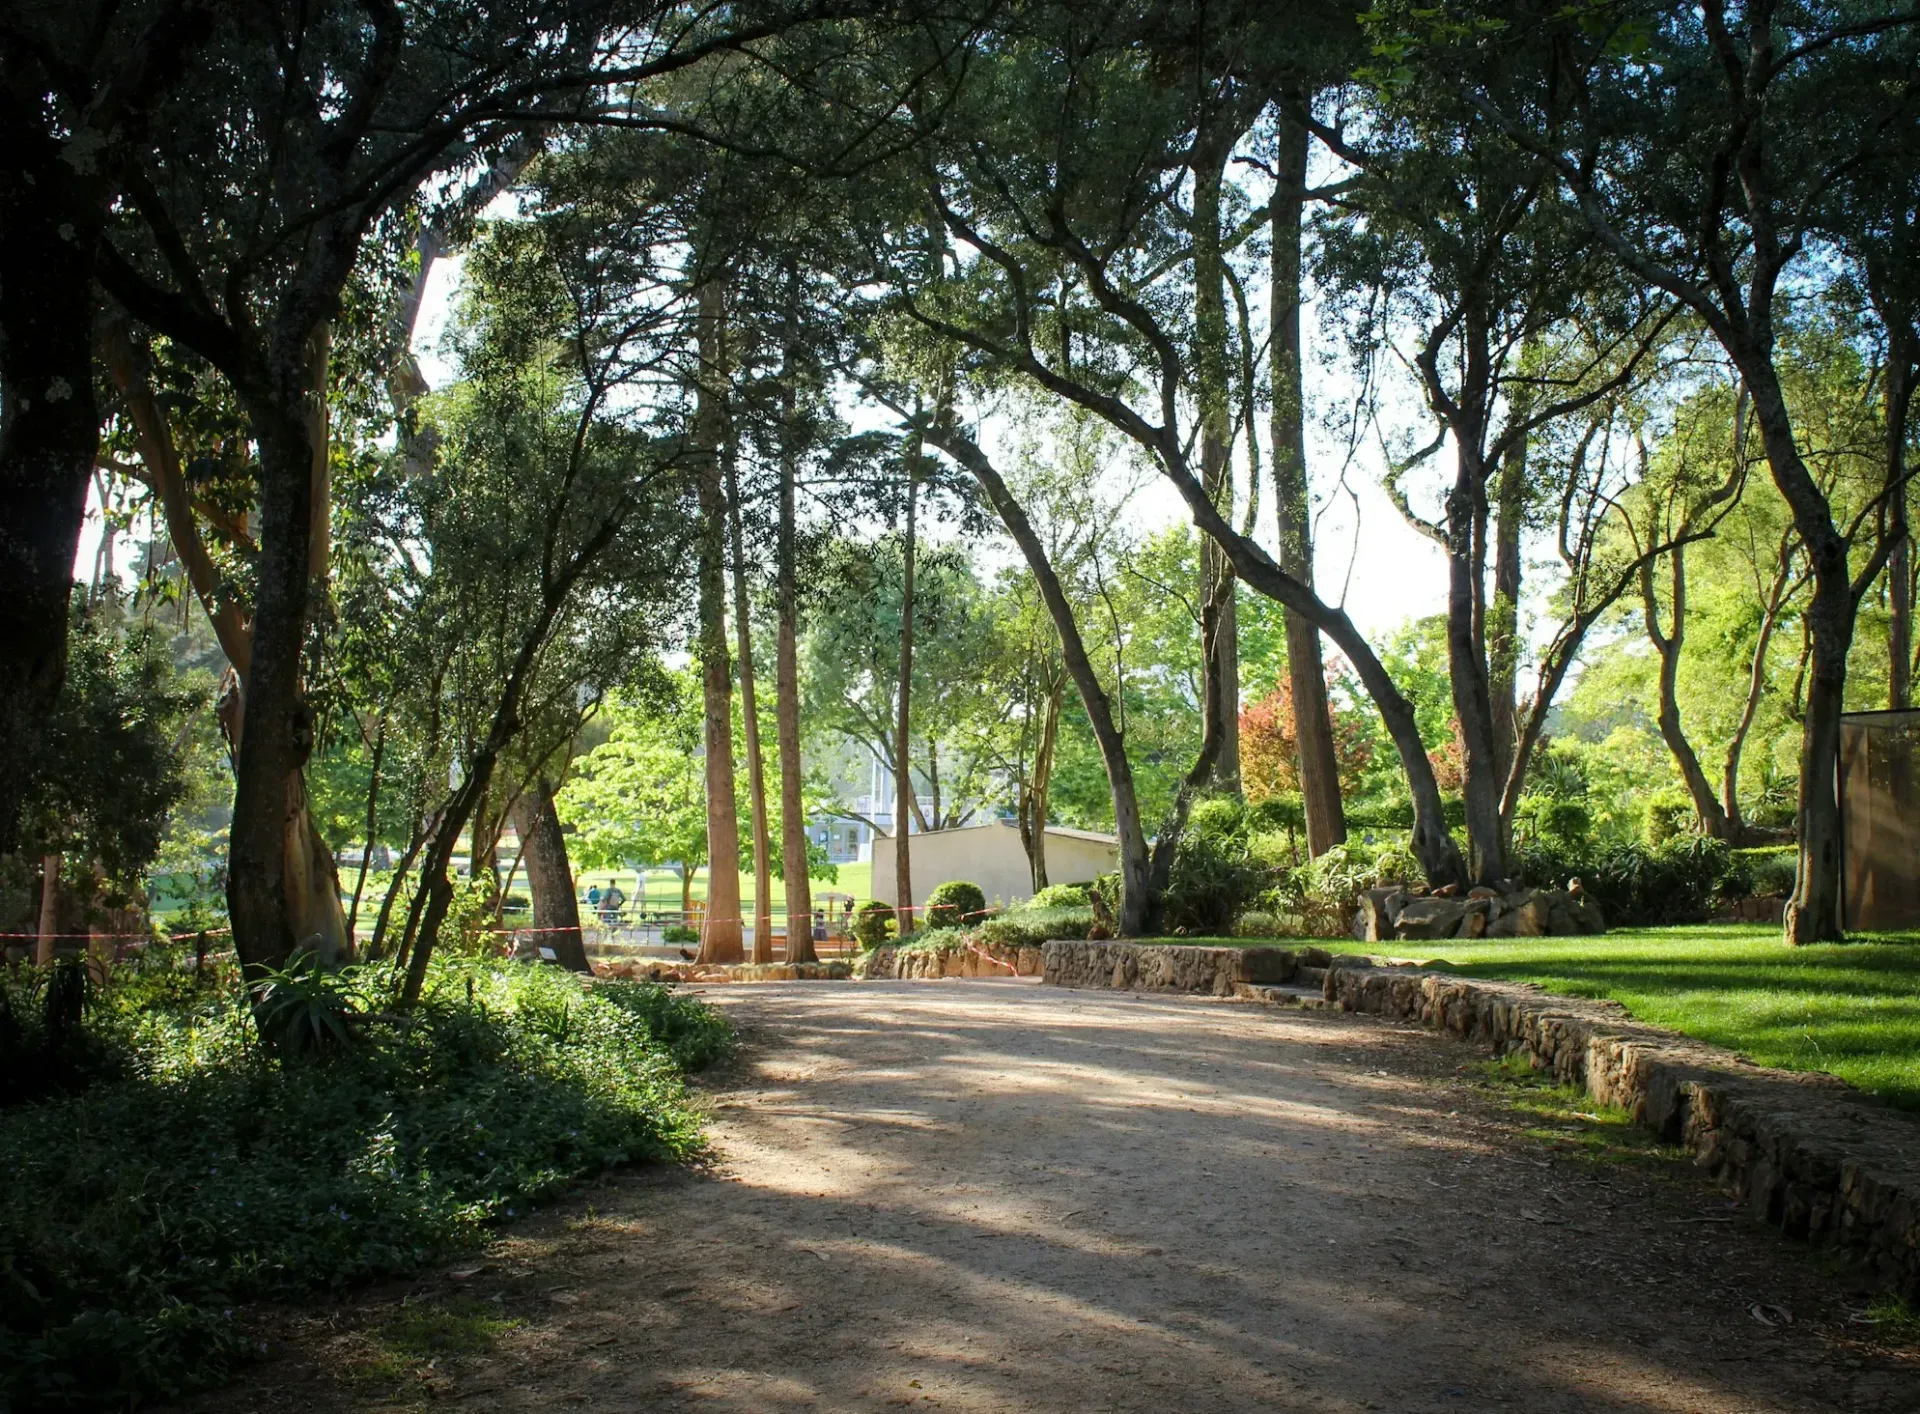
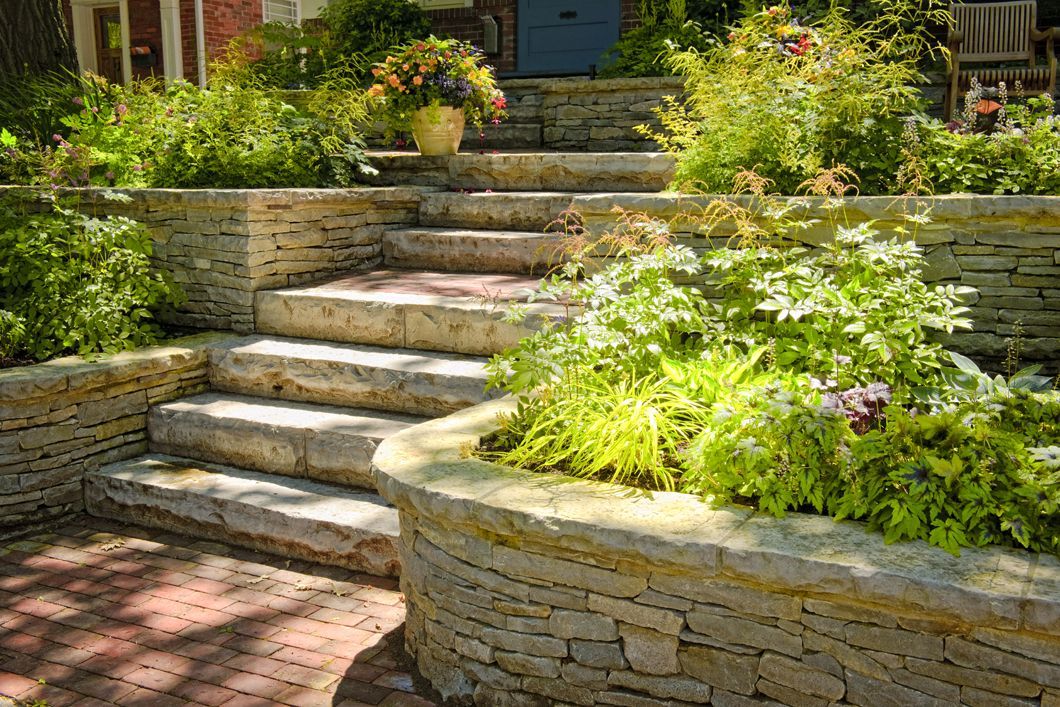
Project 4: Designing a Rock Garden
Rock gardens offer a unique aesthetic, bringing texture, color, and structure to your landscape. They're particularly suited for areas with challenging conditions, such as slopes or poor soil, and require minimal maintenance once established. Here's how to create a stunning rock garden:
1. Choose the Right Location: Rock gardens perform best in well-drained, sunny spots. If your garden has a natural slope or areas where other plants struggle to grow, it could be the perfect place for a rock garden.
2. Plan Your Design:
Consider the size and shape of your rock garden. Use a garden hose or rope to outline the area on the ground. Think about incorporating different sizes and colors of rocks to create depth and interest.
3. Select Your Rocks:
Choose rocks that are native to your area for a natural look. Large rocks should be placed first to anchor the design, with smaller stones filling in around them. Aim for a mix that includes both large boulders and smaller stones.
4. Prepare the Site: Clear the area of weeds and grass. Depending on your soil type, you may need to excavate and replace it with a mix of gravel, sand, and a little topsoil to ensure good drainage.
5. Install the Rocks: Place the largest rocks first, burying them partially in the ground to make them look natural. Arrange the smaller stones around them in a way that pleases the eye, keeping the design balanced.
6. Choose Suitable Plants:
Select drought-resistant plants that thrive in rocky environments. Succulents, alpine plants, and some types of groundcover are excellent choices. Plant them in pockets of soil between the rocks.
7. Water and Care: Initially, your rock garden will need regular watering to help plants get established. Once settled, it will require very little maintenance, thanks to the drought-tolerant plants and excellent drainage.
Supporting Research:
Studies have shown that rock gardens can significantly reduce water usage in landscaping, making them an eco-friendly choice for gardeners looking to conserve water and support local ecosystems.
Project 5: Creating a Backyard Wildlife Habitat
Creating a backyard wildlife habitat is a rewarding project that not only enhances the beauty of your garden but also supports local biodiversity. By providing food, water, shelter, and places to raise young, you can attract birds, butterflies, and other beneficial wildlife to your outdoor space. Here's how to get started:
1. Provide Food Sources: Plant native flowering plants, shrubs, and trees to offer nectar, seeds, berries, and fruits throughout the year. Consider installing bird feeders and a butterfly feeding station to supplement natural food sources.
2. Add Water Features:
Wildlife needs a reliable water source for drinking and bathing. A shallow birdbath, a small pond, or even a water dish can serve this purpose. Ensure the water is clean and accessible to small creatures.
3. Create Shelter: Offer protection from predators and harsh weather by planting dense shrubs, leaving leaf litter and brush piles, or installing birdhouses and bat boxes. Varied vegetation layers, from ground cover to canopy trees, provide numerous sheltering options.
4. Ensure Places to Raise Young: Similar to providing shelter, consider habitats for breeding and rearing offspring. Many birds and insects need specific plants or secluded spots to nest and lay eggs. Maintaining a mix of habitats will cater to a variety of species.
5. Practice Natural Gardening:
Minimize the use of chemicals and opt for organic pest control methods to keep your wildlife habitat safe. Letting some parts of your garden grow wild can also create a more inviting environment for different species.
Supporting Research:
According to the National Wildlife Federation, creating backyard habitats can significantly contribute to wildlife conservation, helping to support pollinator populations and bird species that have seen habitat loss in urban areas.
Conclusion
Embarking on any of these five easy landscaping projects can significantly enhance your outdoor space, benefiting both the environment and your well-being. From pollinator gardens and drip irrigation systems to raised beds, rock gardens, and wildlife habitats, each project offers a chance to connect with nature and unleash your inner green thumb.
For anyone in Cincinnati looking to transform their outdoor space,
Chip's Landscaping comes highly recommended. Specializing in landscaping, retaining walls, and irrigation, they bring expertise and creativity to every project. Whether you're aiming to enhance your garden's beauty, install durable retaining walls, or set up an efficient irrigation system, Chip's Landscaping has the skills and experience to meet your needs. With a focus on quality and customer satisfaction, they're the go-to professionals to make your landscaping dreams a reality in Cincinnati.